← Home
Design studio

Developing the model

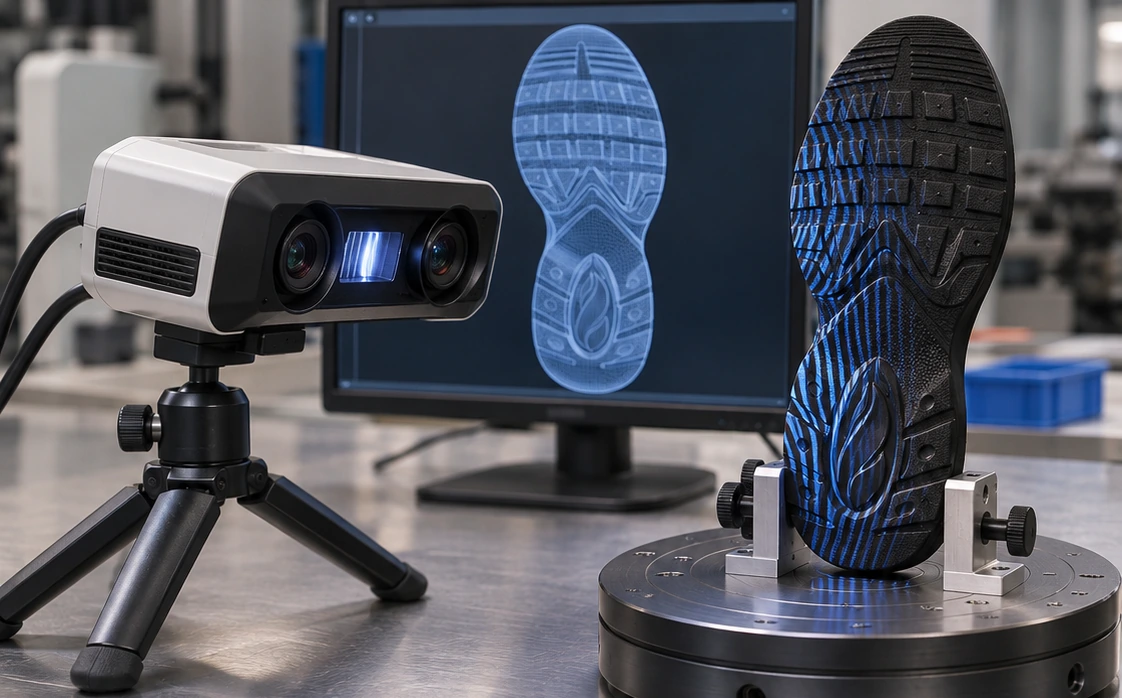
The reference sole or last is scanned, then rebuilt as an editable 3D model.

3D scanning and design
01

3D scanning and design

Scanning digitises the sample surface. Reference planes align this capture with the technical drawing.

Toe, waist and heel sections are examined separately. Wear marks in the point cloud are distinguished from design features before checking left-right correspondence.

  • Point-cloud alignment
  • Section and curve checks
Process
SLA 3D model printing
02

SLA 3D model printing

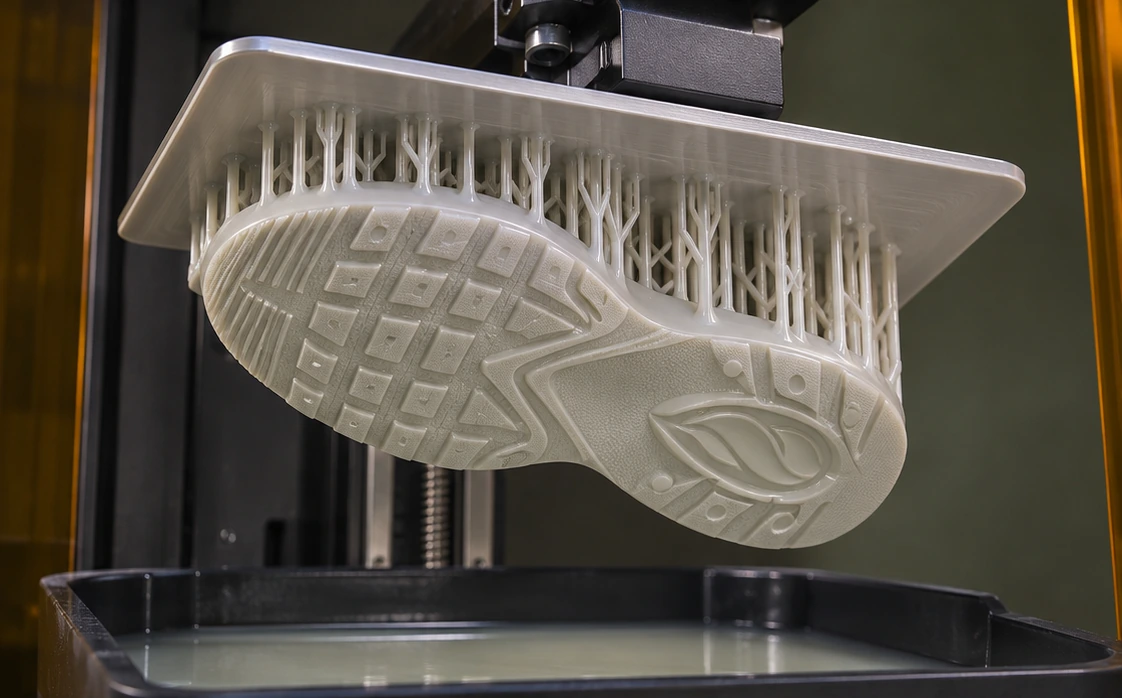
In stereolithography, light selectively cures a photosensitive resin.

Build orientation influences the direction of layer marks and support placement determines contact marks. Visible tread and fine edges guide support positioning.

  • Build orientation
  • Support contact points
Technology
Silicone and plaster preparation
03

Silicone and plaster preparation

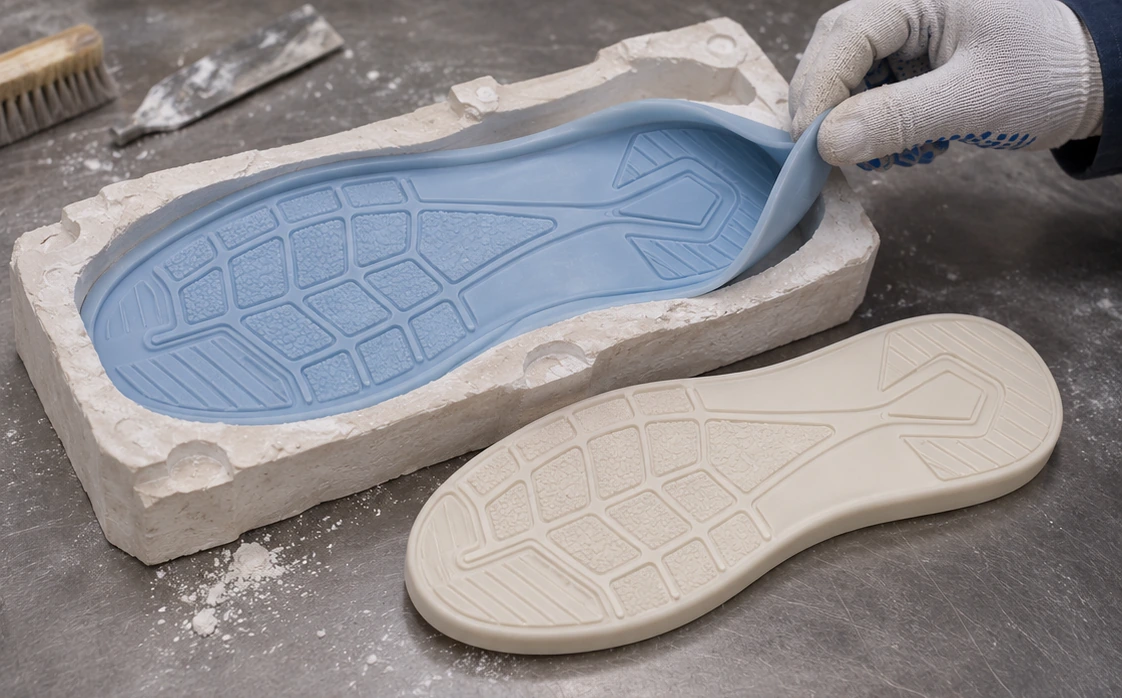
Flexible silicone captures relief in negative. Plaster forms a more rigid copy from that impression.

Air trapped at the bottom of a deep groove can interrupt surface reproduction. The release direction is planned to protect delicate relief during removal.

  • Negative and positive surfaces
  • Air-mark inspection
Process

Have a model in mind? Let’s look at it together.

Start your project