← Home
Process

From concept to mould in six steps

We scan the sole, design the digital model, prepare the casting from an SLA master and finish the metal surface by hand.

3D scanning and design
01 / 06

3D scanning and design

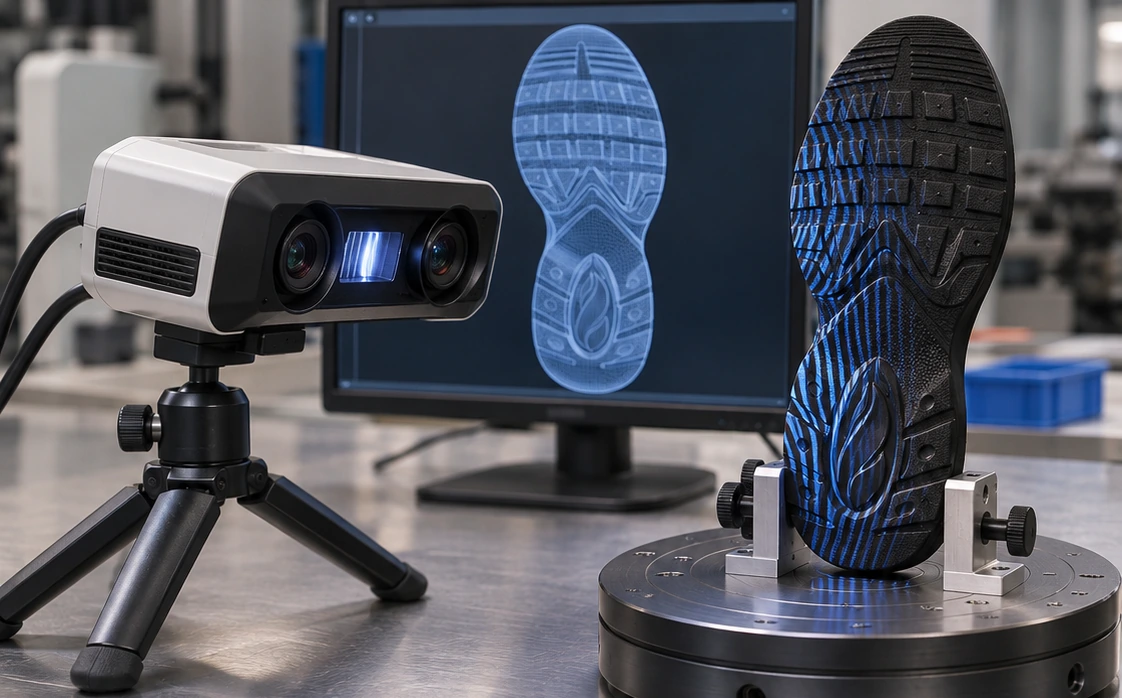
The reference sole or last is scanned, then rebuilt as an editable 3D model.

The footprint and heel height are compared with the sample. Once the edge line, tread direction and joints are set, the model for printing is selected.

  • Input · Physical sample and dimensions
  • Output · Print-ready model
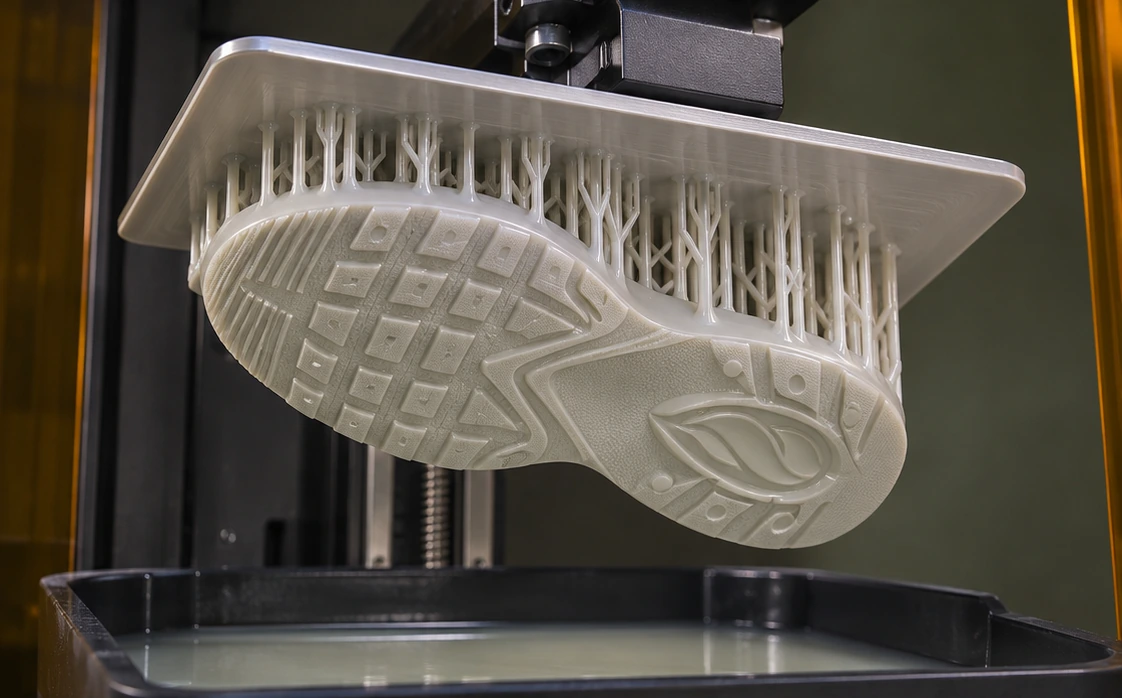
SLA 3D model printing
02 / 06

SLA 3D model printing

The digital design is printed layer by layer in resin to produce a physical master.

After support removal, the print is cleaned and post-cured for the resin used. Tread and edges are inspected before taking a silicone impression.

  • Input · Approved digital model
  • Output · Resin master
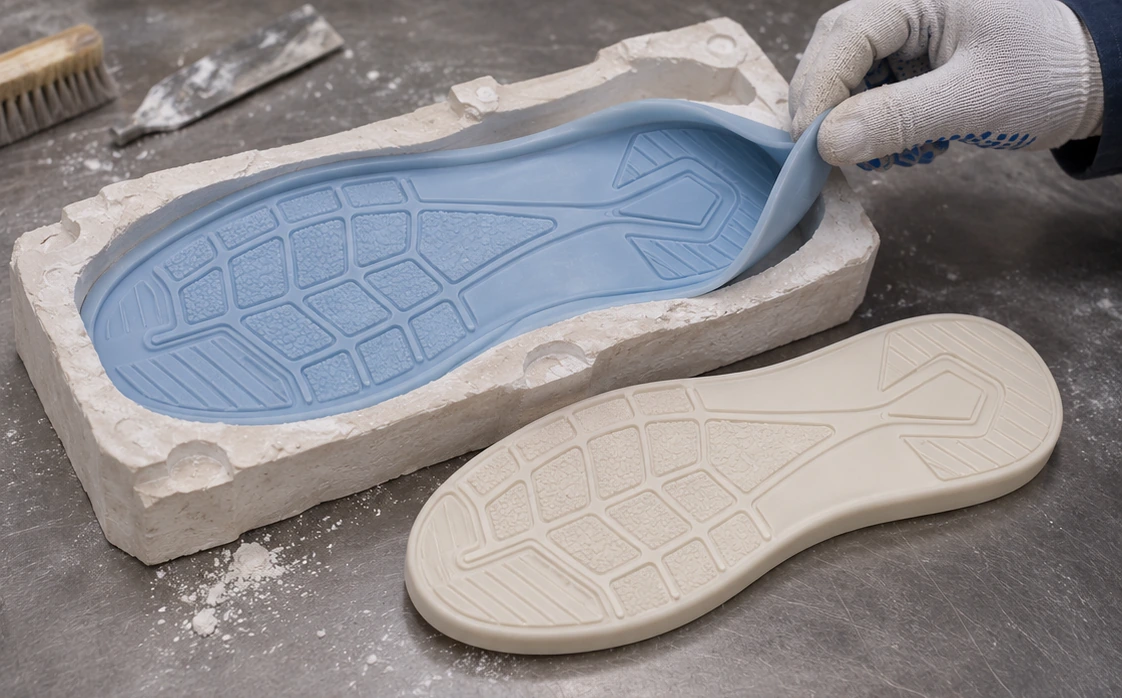
Silicone and plaster preparation
03 / 06

Silicone and plaster preparation

A silicone impression is taken from the resin master and used to produce the plaster form for casting preparation.

Fine grooves and tread tips are protected as the silicone is released. Once the plaster sets, projections, edges and possible air marks are checked.

  • Input · SLA master
  • Output · Silicone impression and plaster form
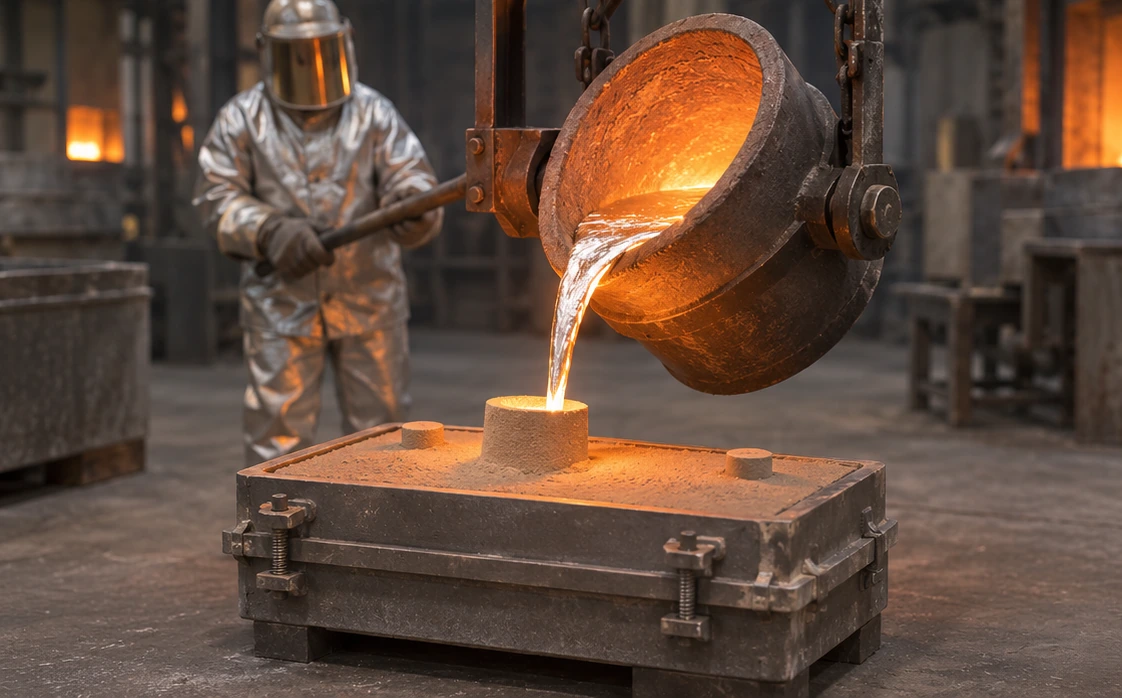
Casting
04 / 06

Casting

The prepared geometry is transferred to a metal mould blank by casting.

Once the metal has solidified and cooled sufficiently, the blank is released. Feed attachments are removed and the blank is reviewed for machining setup and reference surfaces.

  • Input · Prepared casting form
  • Output · Cast metal blank
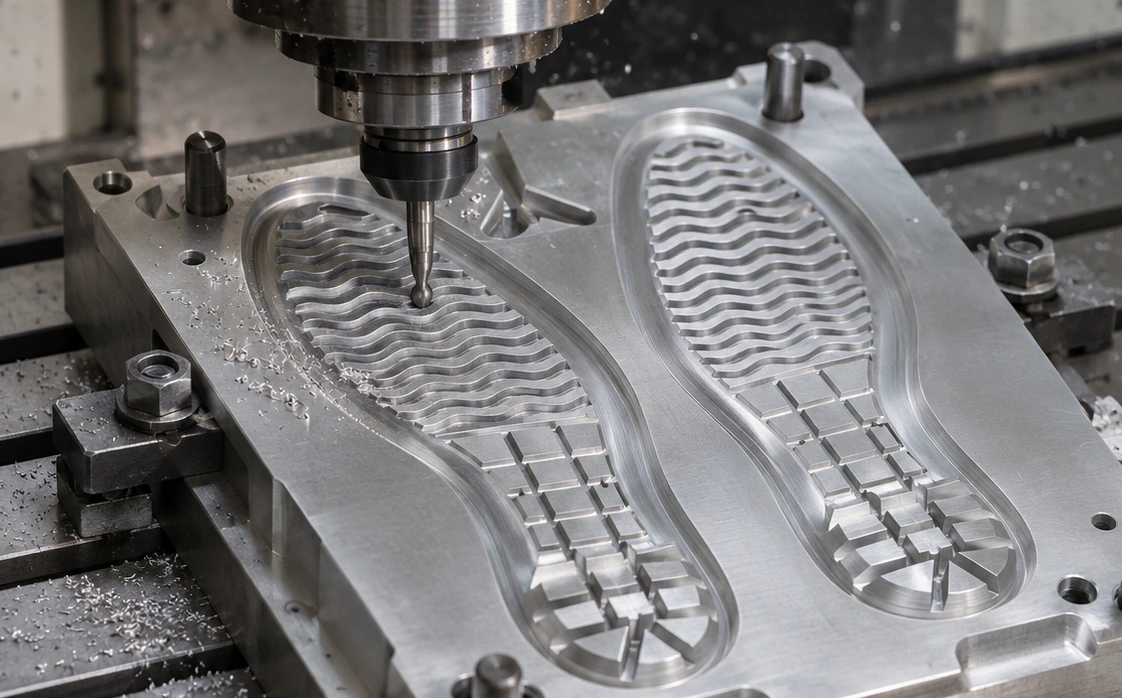
CNC machining
05 / 06

CNC machining

The metal blank is fixtured on the machine. Datum planes and mating surfaces are machined.

Required seats, holes and edge transitions are completed along the planned toolpaths. Dimensions and the fit of the mould halves are checked before hand finishing.

  • Input · Cast metal blank
  • Output · Machined mould components
Fine surface finishing
06 / 06

Fine surface finishing

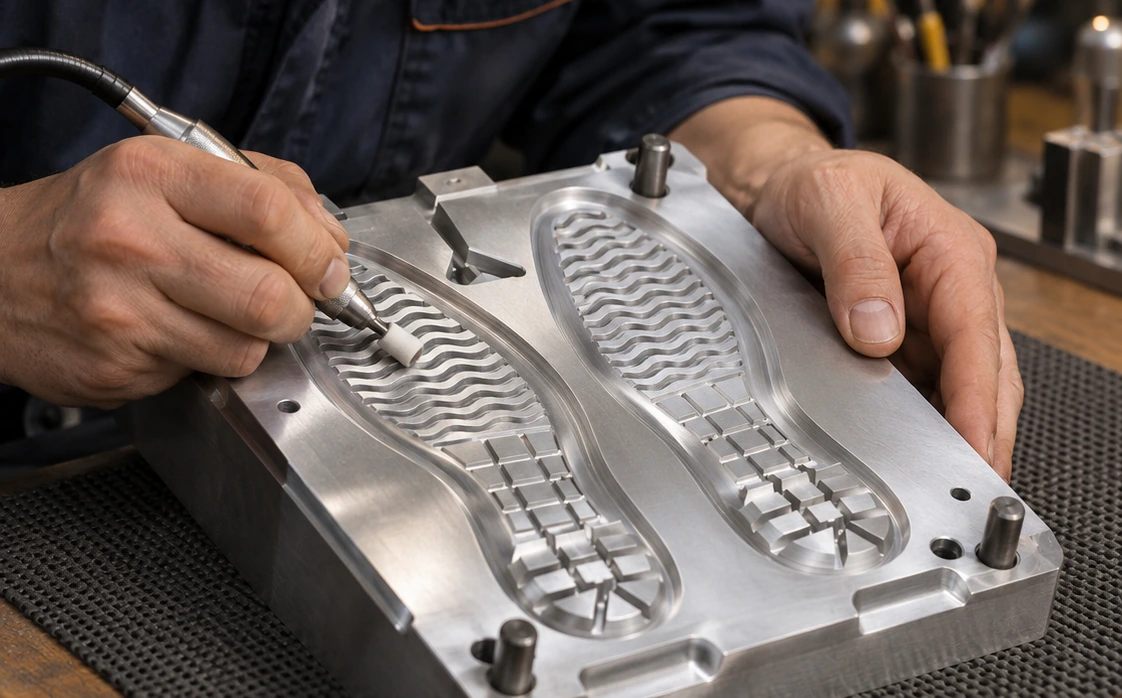
Burrs are removed and tread edges and contact faces receive a final finishing pass.

Textured, matt and polished areas are treated separately. Closure and visible transitions are inspected before the first sample is made.

  • Input · CNC-machined components
  • Output · Mould ready for sampling

Have a model in mind? Let’s look at it together.

Start your project